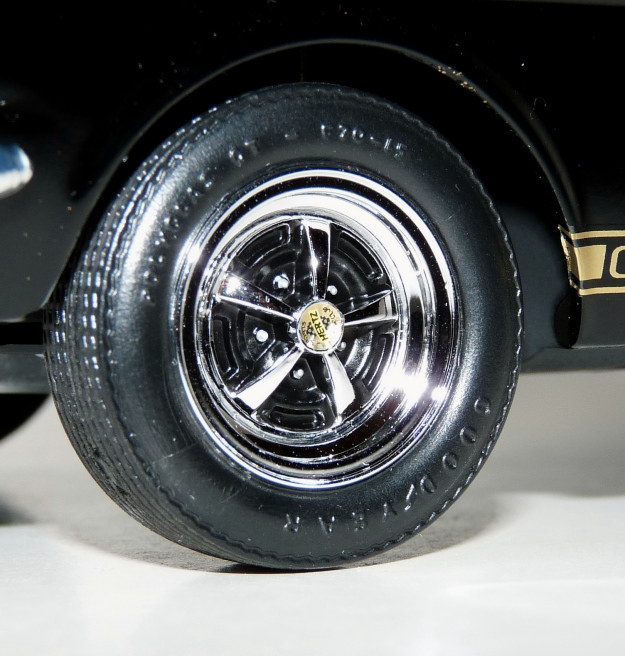
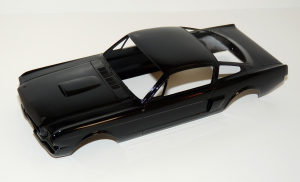
10/20/10 - Yesterday I applied a wash to the grille, painted the tail, reverse, and blinker lights, and started on the wheels. I was going through some old kits to see what I could sell/toss, and found a nice set of Goodyear Blue Streak tires that were a direct replacement for the kit ones. Turns out, these Goodyears were standard equipment on the actual car! Thing is, I REALLY don't want to paint the white letters... I found some images of the HERTZ wheel center caps, but I don't think I can print them well enough to make my own decals. I may putter around and see if it is possible... I added the black paint to the chrome wheels, but the light from my desk lamp really made it hard to see if I missed a spot. Once I put the wheels into the chassis, and changed rooms, I saw that I missed a FEW spots. More work to come... Did a light, cheap polish on the body and sprayed another black coat, too.
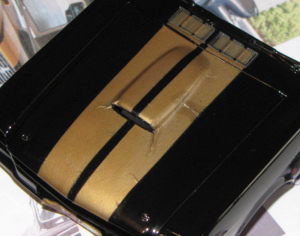
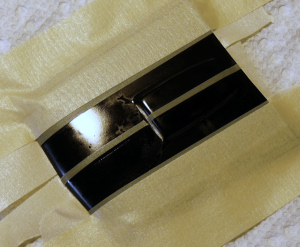
11/1/10 - Things were going well with the Mustang until it was decal time. I applied the kit decals, trimmed as close as possible, and some decal-set. I managed to get them all looking OK, until the hood scoop bit me. At left you can see the decal the next day, with wrinkles and dark spots from a second application of decal set.
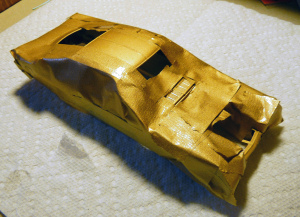
I was so disgusted, I tried soaking the body in warm water to get the decals off. I was happy to see they did float off, but there was a faint "etching" where they had been. I decided to try painting the stripes on, since I already had a can of Testor's gold paint. I found my old roll of Pactra masking tape, and make the edges straight by using a hobby knife and ruler on a glass table. Following the etch marks, I got everything ready for paint.
I sprayed a light coat of gold first so the tape wouldn't get soaked. Then I added a couple more light, wetter coats. Once they were dry, I sprayed two coats of Duplicolor clear to seal the gold. I learned years ago not to get finger oils on the gold, or you will get permanant marks later.
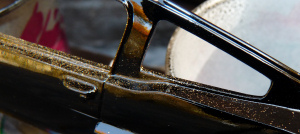
After I removed all the masking, I found the stripes came out very well, with almost no bleeding at all. Only a little where the tape had to stick to some tough contours. But there was one issue I wasn't happy about...
There was gold overspray on the top of the doors. I can see now how it got there. I didn't know if I'd be able to get it off without ruining the black paint. I took my polishing cloths, and lightly "sanded" the mess off. Seeing how the body looked after that, I realized there would have to be a clear coat to hide a few polishing marks.
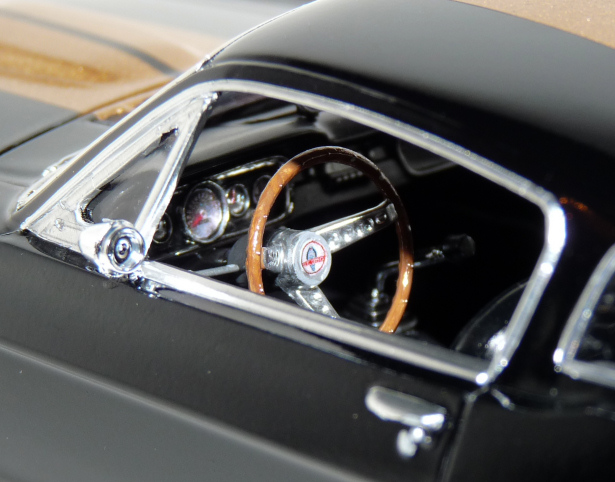
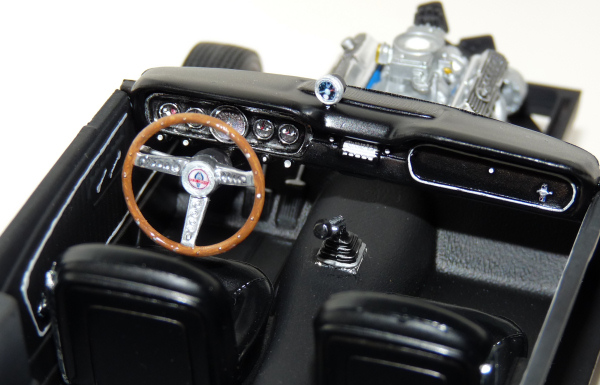
It was then that I decided to get the foil on the silver trim. I decided to use my old sheet of Bare Metal Foil aluminum trim. I never had issues with that sheet, only with the chrome ones I had. I used a new little tool to burnish the foil: a makeup swab-thing. Being a girl, I should know what they are called, but I don't wear makeup! Basically it is a little foam tip on a plastic stick. The foam didn't tear, and things went a lot better than expected. Once everything was ready, I sprayed that one clear coat.
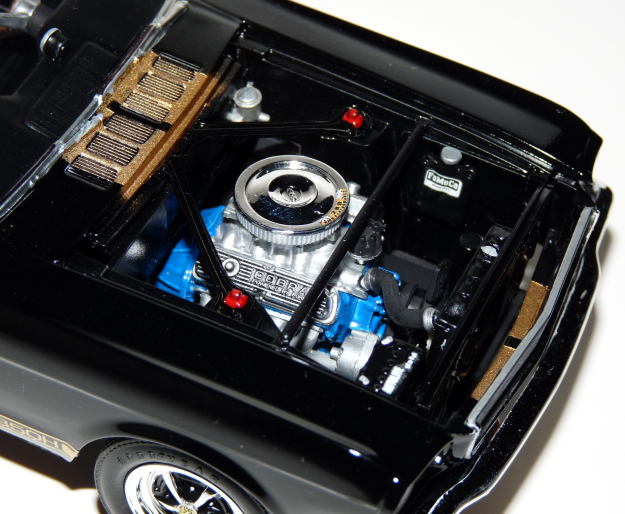
I am letting the body sit and cure while I wait for a sheet of Keith Marks decals to arrive. I will use the side stripes from it. It also has a decal for the air cleaner, which I was planning to make myself.
In the meantime, I will also have to touch up the silver trim with paint, and hide the small gold bleeding with gloss black paint. I still need to finish painting the car's wheels, too.
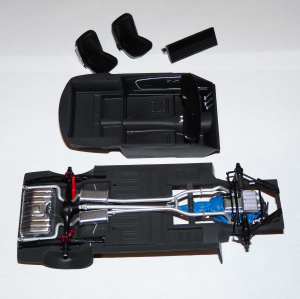
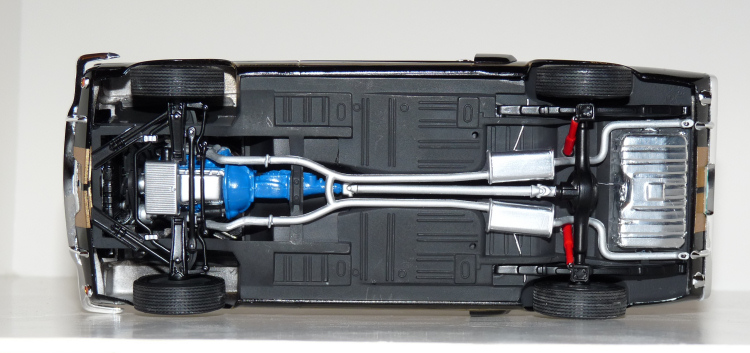
There is one upcoming issue I am not looking foward to. The body is straight, but the chassis has a warp up front that I didn't notice until it was too late. I am hoping that once the two are mated together, things will flatten out. But until then, that warp will be hanging over me...
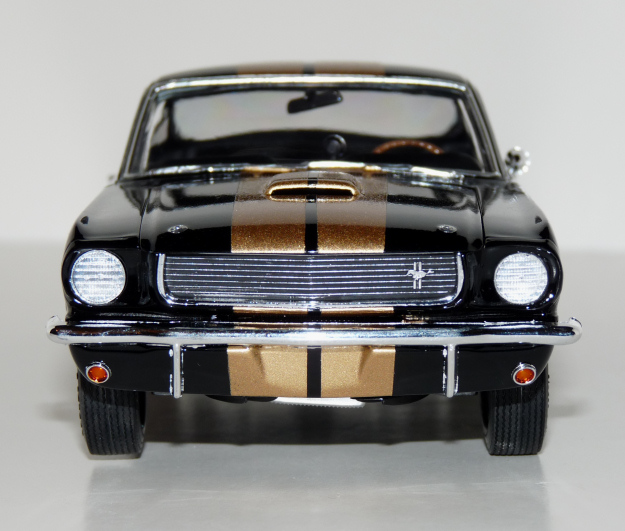
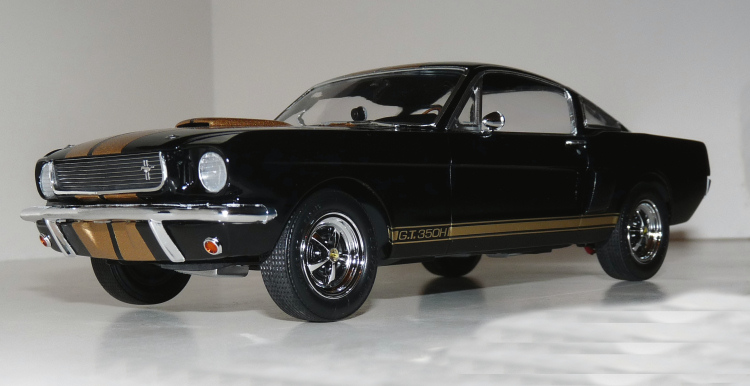
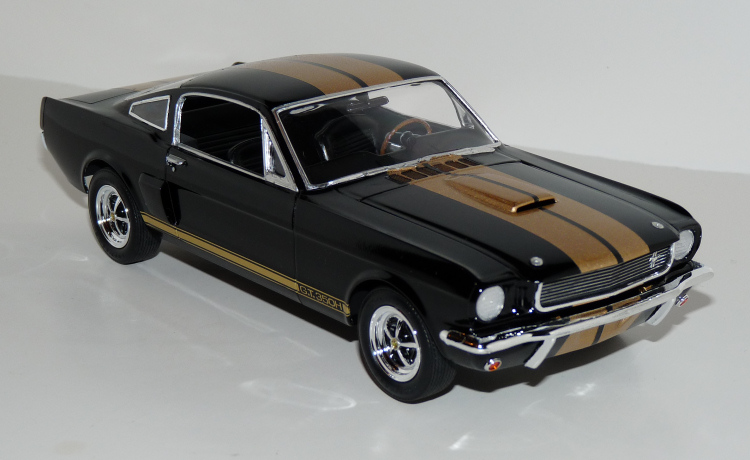
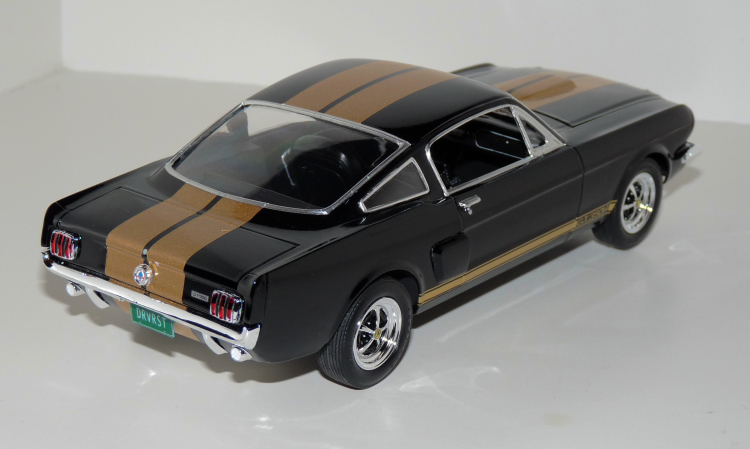
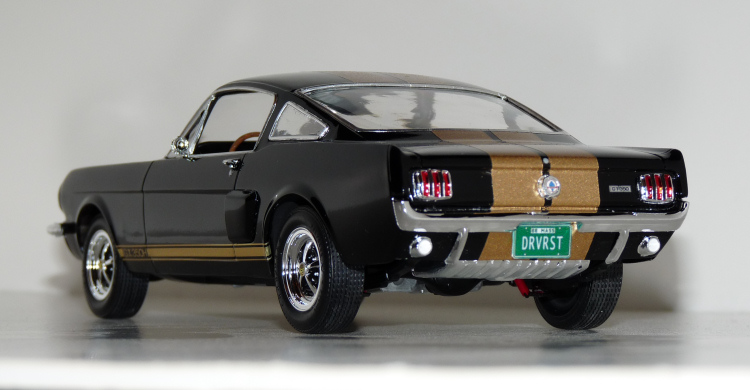
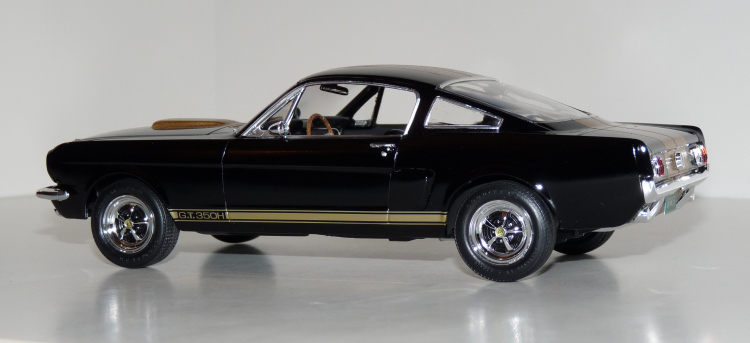
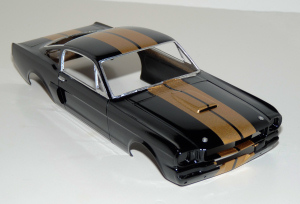
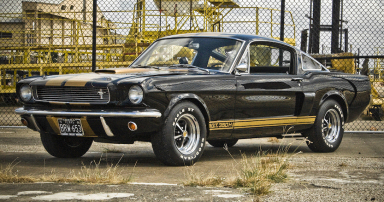
11/8/10 - The Hertz Mustang is finished! Last week I installed the windows and waited for the Keith Marks decals to arrive, which they did today. The side stripe is a different shade of gold than the paint I used, but it isn't too obvious. The decal sheet, to my happy suprise, also had the HERTZ center cap decals for the wheels! I applied one COBRA decal to the rear chrome bit (which I think was the gas filler cap). They can also be used for the horn button. I highly recommend the decal sheet, though I don't know how the gold stripes would have worked. I made a custom license plate using the ACME plate maker. Can you figure out why it says what it says?
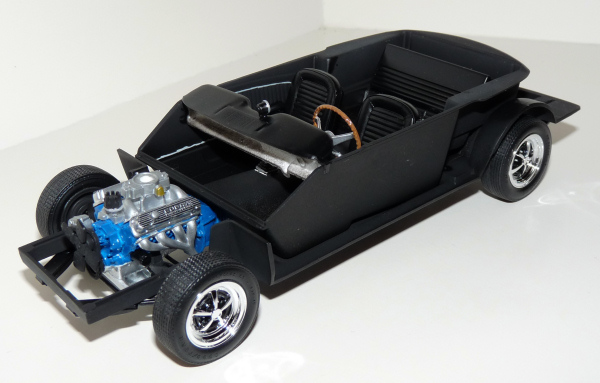
That chassis warp did cause some minor issues. I expected things to be a lot worse. You almost can't see anything wrong at a glance. The front shocks didn't get installed because I couldn't figure out how to get them glued in place without some long tweezers. The front & rear bumpers had some flash on them, which stinks. But again, it isn't too-too noticeble. I had to scrape the chrome off the backs to get them to glue on properly. I left the tires black as I just didn't want to make a mess. I am glad I found them in my parts stash, as they are the correct tires for the car.
All in all, I am happy with this model. It isn't perfect, but it's no slouch, either. I don't usually build muscle cars, but this one has grown on me.