Revell Ferrari F599
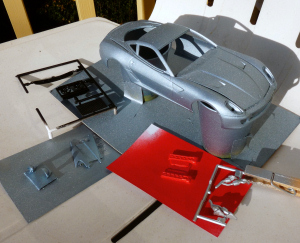
11/9/11 - Here is the model early in the building process. The day was so nice and warm, I actually did a lot of spray painting out on the porch! I was very happy with the body color at this point. Little did I know things would go downhill soon after.
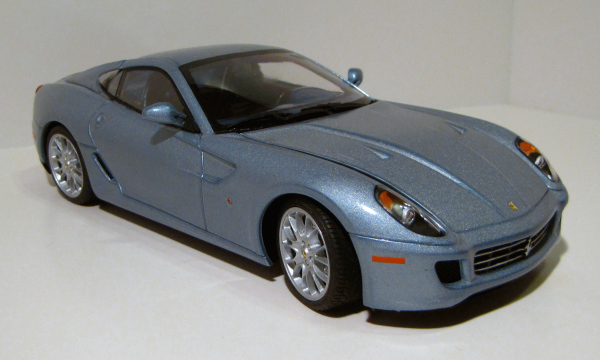
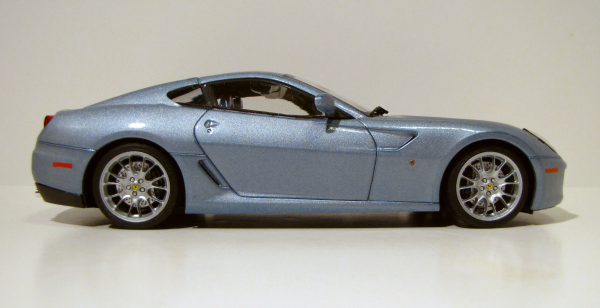
The body got one coat of flat silver, then multiple light coats of Testor's Silver Blue Metallic. I figured the later clear top coats would help all that flat paint shine. But no matter how many coats I added, or how much I tried to polish everything without burning through the color coats, there was always a rough texture to the paint. It got to the point where the nice blue was turning yellowish! A real shame... I finally gave up and went ahead with the build...
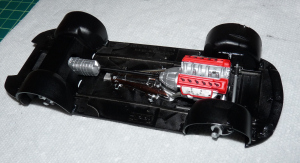
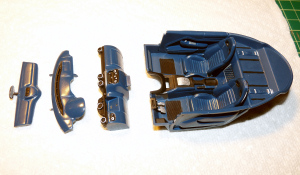
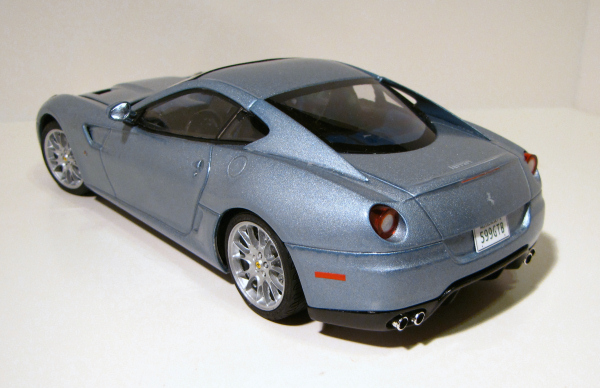
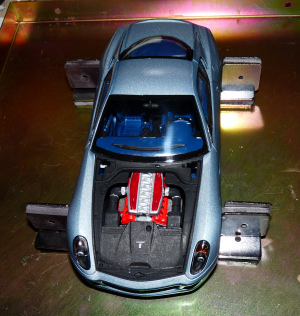
11/9/11 - Here is the chassis, complete with red valve covers. I used a black wash on the part that covers the exhaust. The mufflers are not installed because they go on after the body is put onto the chassis. You could add them ahead of time, but the rear of the chassis has a part that represents the lower rear bumper, and the exhaust tips have to fit through this part. I didn't want to jeopardize this final detailing...
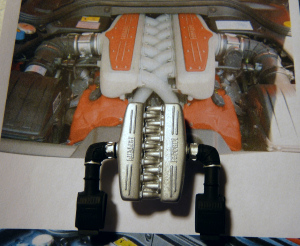
11/15/11 - This is the part that goes on top of the engine assembly. The side air intakes look accurate, but the intake manifold is a bit off. There is no decal in the kit for the red sections. I tried to make my own decal, but the end result was not worth taking a photo of... I should have left things silver...
11/15/11 - Here are the interior sections. The seats have separate front and back parts, so you can either paint the backs, or use carbon fiber decals on them. I went with gloss black. The paint is Blue Angel Blue, but it looks a bit lighter with flash photography. I didn't like the two part dash setup. I tend to wonder if it is a carry over from some die-cast version... The top is supposed to fit to the body, then mate with the dash bottom when the body and chassis go together. I decided to take my chances, and glued the two dash halves together. I had to get fancy when installing the body, but it appears to have worked out well... If I build this kit again, I will fill in the gaps between the two halves...
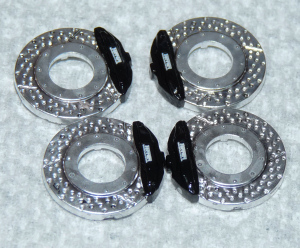
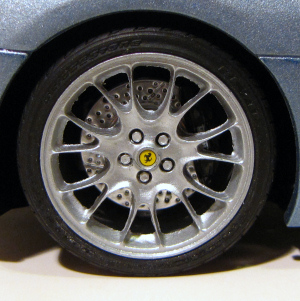
12/6/11 - I had already stripped the kit wheels, which are a type of retro star design. I really didn't like them, so I splurged and got a set of Hobby Design 20" Challenge style BBS wheels (Part #HD03-0085). I've always liked them. But the kit tires didn't fit them! The only tires I had in my old collection of model parts, were incorrect Bridgestone Potenzas from an old Fujimi wheel and tire set (#19183). They fit nicely. I also used the Fujimi brakes that came in that old set. They have a few slots that are not on the 1:1 car, but I decided that wasn't a big enough issue to not use them. I decided to go with gloss black calipers with the kit decals. The rotors probably should have been painted a darker tone...
12/6/11 - The aftermarket wheels wouldn't fit onto the kit spindles. I had to carve away the spindles at all four corners, and cut away some of the material from the back of the wheels, too. Then I remembered that the wheels seemed to be made from resin, not styrene. That meant that I couldn't use the usual glue. I ended up using two part epoxy.
The wheels come with an open style lugnut. In other words, there is a hole in the center of each lugnut. I used a silver pen to "fill in" the holes with ink (paint). I can see now some flash I missed before painting. I used simple silver with no top coating. The Ferrari emblems are from the kit.
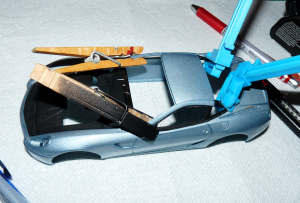
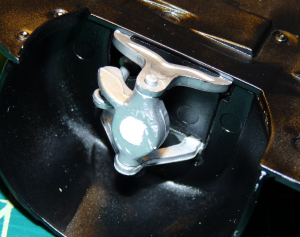
12/12/11 - Here is what it looked like trying to clamp down the side windows.
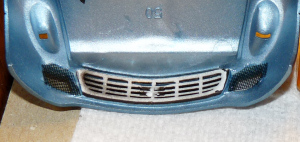
12/12/11 - The kit comes with a nice sheet of black mesh for the various intakes. The grille is cast with the two front intakes, making one part. I cut away the fake screens, and used the sheet material instead. The look is FAR better. I also stripped the grille and painted the front black with chrome highlights, like on the real car. The casting was a bit "heavy"...
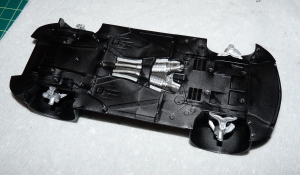
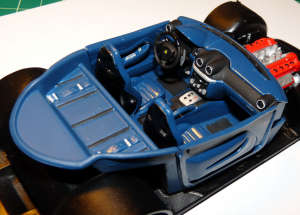
12/12/11 - All the sub assemblies are together and its time to install the wheels. I had a brain storm, and used my trusty little "square tray" that I use for model railroad buildings. A little epoxy, a lot of repositioning, and in the end, the wheels were almost perfect. I only wish I had propped the rear end up a little while the epoxy was wet... Note the less than perfect intake part... The chrome parts that represent the headlight assembly were a bit lackluster. Do your best to detail them and you can get away with them.
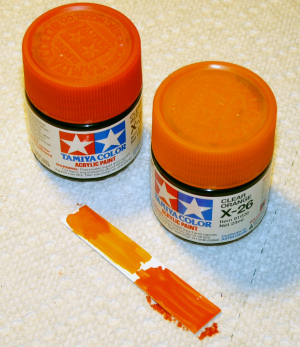
12/14/11 - The kit's decal sheet included small orange dots for the side marker lights, which didn't stick to the model. Instead I used a dab of silver, then clear orange. Also, US market cars have markers on the front and rear bumpers. I decided to make my own using paint and clear decal paper. The 1:1 ones are thinner with rounded edges, but I think mine look OK for home made!
The tail lights are very simple. They were cast in clear plastic. The center had to be "clear", with the outside red. I have never had so much trouble painting tail lights! I had to strip them three different times before I got a decent result.