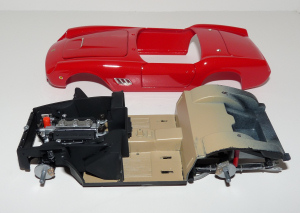
11/5/10 - Today I was digging through my model kits, and remembered that I had started this one years ago, right when I entered burnout mode. The body was already painted with a few details attached. Also, the engine was done. I decided I would putter with it a little.
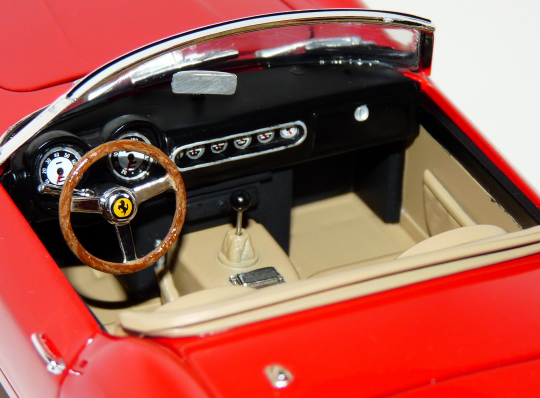
One thing I had made a note about years ago was that the inner door panels were from the GTO/SWB version of the 250 kits. I had a whole Replica's & Miniatures interior upgrade kit ready to go, but decided I would keep it for a future build. Instead, I cut the kit panels apart, made a new middle panel out of styrene I had sitting around, then glued the pockets on. Not perfect in any way, but better than what there was.
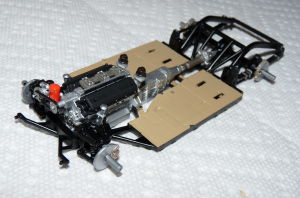
11/7/10 - Chassis is almost complete. Note the floor has been painted tan. I finally found a shade I like in the Tamiya line. I sprayed the tan first, then masked it off, and went with semi-gloss black for the rest of the chassis.
11/12/10 - Chassis is complete. The center console is part of the rear chassis. I sprayed the console area tan, then masked it off and sprayed what might be the gas tank silver, then did more masking and applied the black. I should have make the rear shocks orange, to look like vintage Koni's, but I am not looking for 100% perfection with this build. I'd like to build it again in the future to a higher standard.
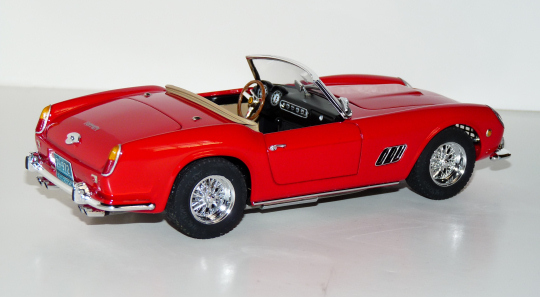
11/21/10 - The 250 is done. While a few parts didn't come out 100% perfect, like the "wood" steering wheel, and a few details have been omitted (such as window cranks), overall the car looks nice. I accidently got glue on the inside of the windshield, after all my carefull work got in installed just right and looking clean. I used an old pin for the shifter. I cut the metal pin down, and painted the "ball" black. I had a little trouble finding a decent license plate for it, and went with a vintage plate I found on Ebay.